Die schlauchlose Variante bringt so einige Vorteile mit sich. Mit Tubeless Reifen kannst du einen geringeren Reifendruck fahren, wodurch du mehr Grip auf der Straße dank der vergrößerten Auflagefläche hast. Außerdem steigt die Pannensicherheit: Kleinere Löcher verschließt die Dichtmilch noch während des Fahrens von selbst. Und wo kein Schlauch ist, da kannst du dir auch keinen Snakebite einfahren. Zuletzt hast du mit tubeless-Reifen einen geringeren Rollwiderstand, da es keine Reibung zwischen Schlauch und Reifen gibt. Alles was du für dein neues tubeless-Setup benötigst, bekommst du übrigens bei uns im Shop.
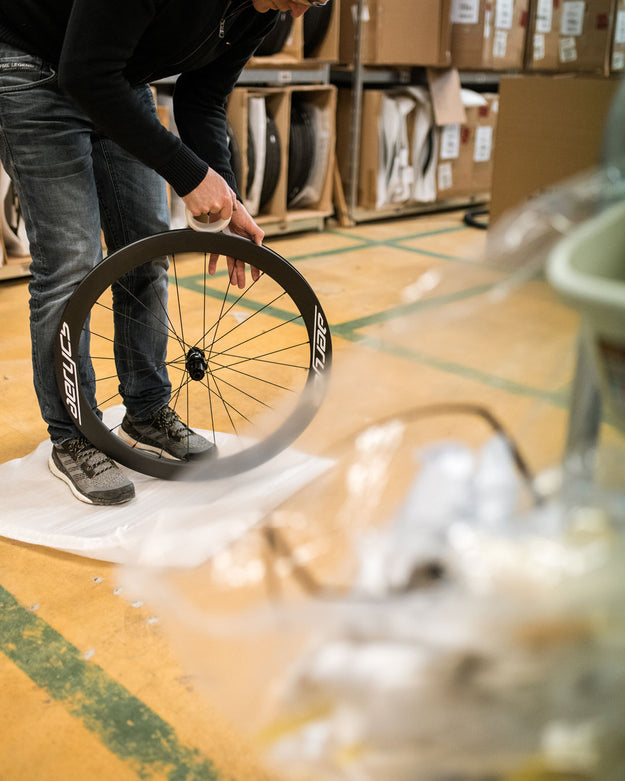
Im ersten Schritt müssen wir sicherstellen, dass die Innenseite der Felge frei von Fett und Schmutz ist, damit das Felgenband ordentlich aufgeklebt werden kann. Dazu benutzt du am besten ein Tuch mit Bremsenreiniger, Entfetter oder ähnlichem und säuberst die Felge gründlich.

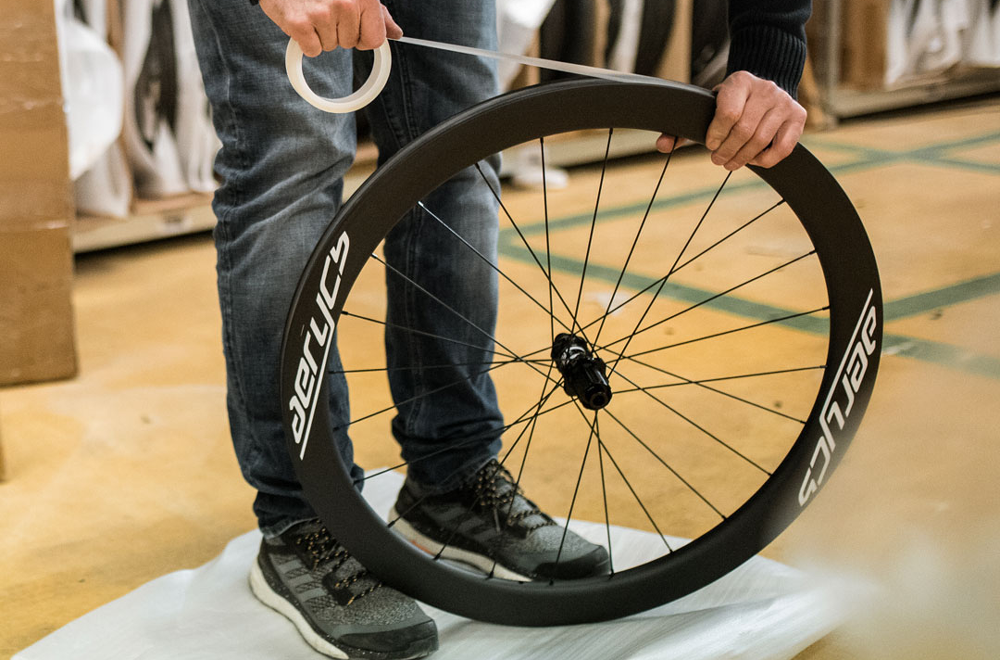
Beim zweiten Schritt kommt das MilKit Felgenband zum Einsatz, dass wir auf die Felge aufkleben. Achte beim Aufkleben darauf, dass das Band schön straff gezogen wird und sich keine Luftbläschen bilden und stelle sicher, dass es doppelt gelegt wird.

Für den dritten Schritt benötigst du ein tubeless-Ventil, einen Schraubenzieher oder ähnliches und einen spitzen Gegenstand. Achte darauf, dass dein tubeless-Ventil die richtige Länge hat: eine große Auswahl an verschiedenen tubeless-Ventilen gibts bei uns im Shop. Nun führst du den Schraubenzieher von der Innenseite der Felge durch das Ventilloch und drückst diesen leicht von innen gegen das Felgenband, sodass dort eine Markierung entsteht. Exakt auf dieser Markierung drückst du nun von außen mit dem spitzen Gegenstand ein Loch in das Felgenband. Nun kannst du das Ventil von außerhalb der Felge und die Dichtung von Innen aufsetzen.

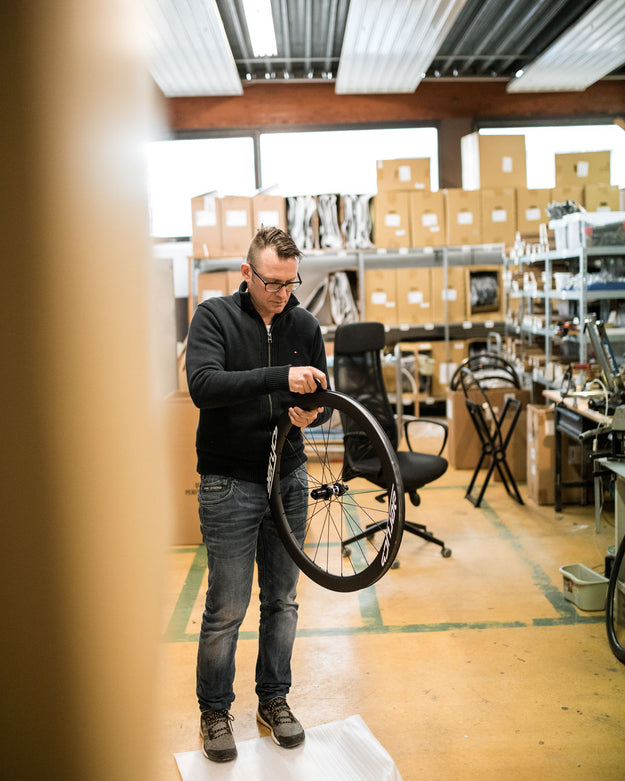
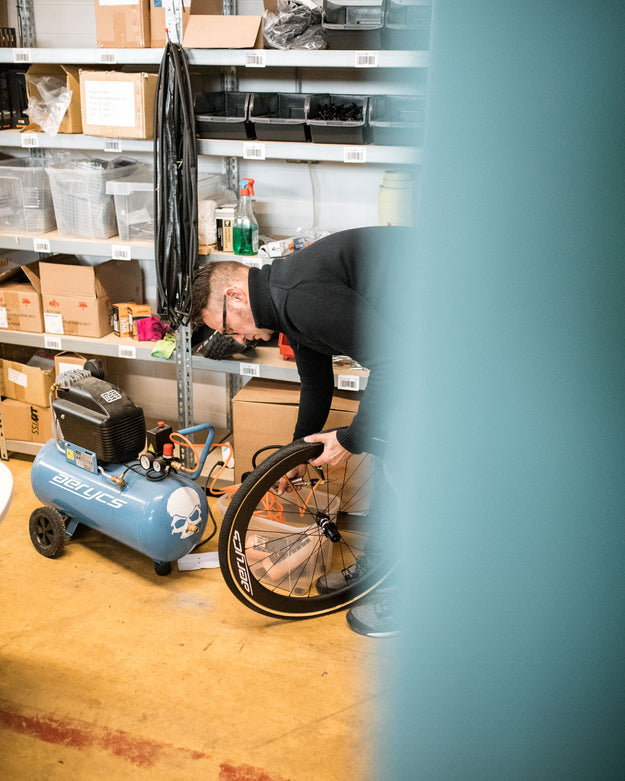
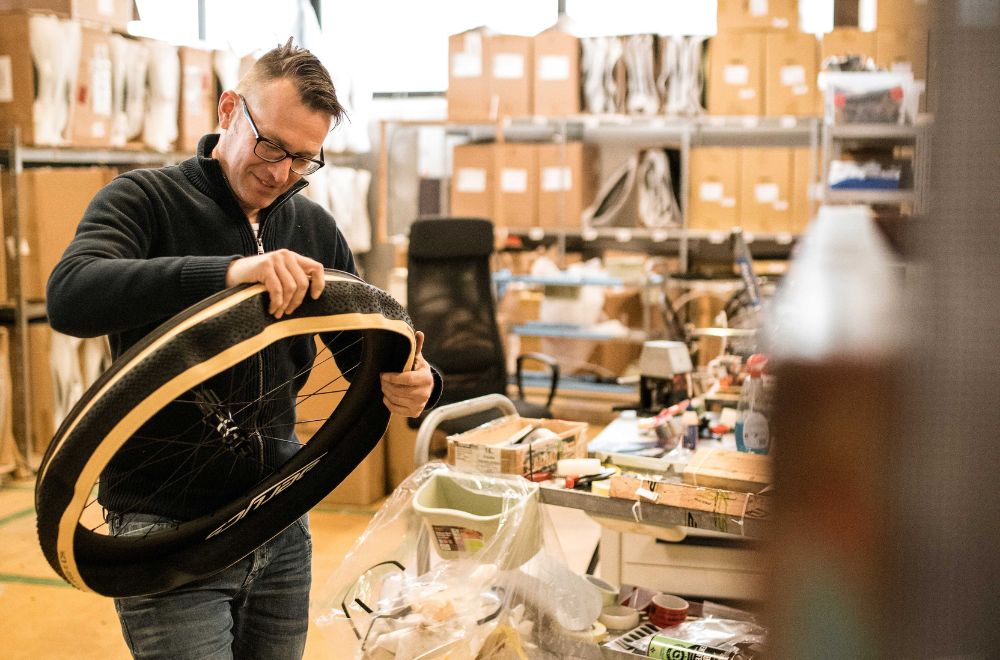
Im nächsten Schritt kannst ziehst du deinen tubeless-Reifen auf. Wenn du die Dichtmilch, wie wir es meistens machen, über das Ventil einfüllen möchtest, musst du nun den Reifen komplett aufziehen. Dieser Schritt kann manchmal etwas mühsam sein - bei der richtigen Reifen/ Felgen-Kombination sollte es aber kein Problem sein. Bei der Wahl, welcher Reifen am besten zu deiner Felge passt, helfen wir dir sehr gerne. Nach dem Aufziehen sollte der Reifen schon einmal kräftig aufgepumpt werden, damit dieser ins Felgenhorn springt. Macht der Reifen beim Aufpumpen einmal laut “plopp”, liegt er an der richtigen Position.

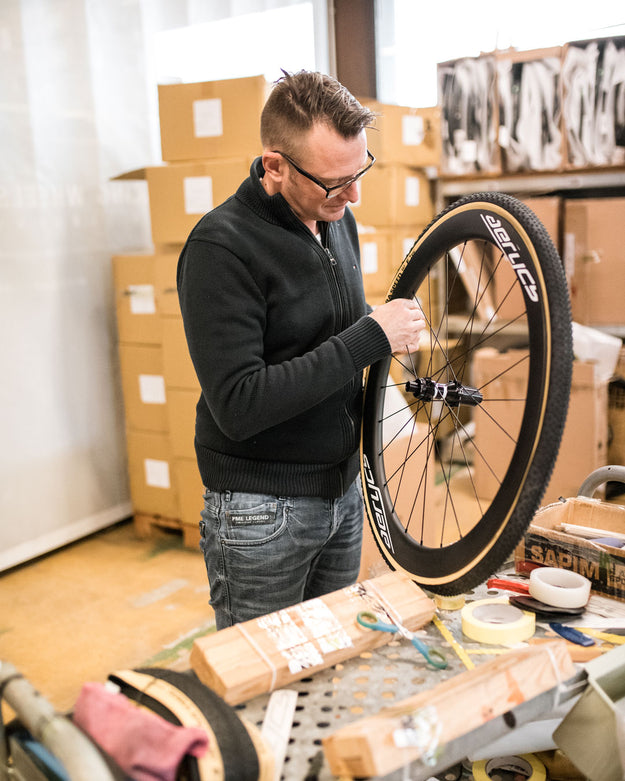
Wenn die Wülste in der Felge sitzen, lasse die Luft wieder über das Ventil ab. Danach drehst du den Ventileinsatz – von Hand oder mit dem Ventilschlüssel – raus. Das Ventil dient jetzt als Einfüllstutzen für die Dichtmilch. In der Regel benötigt man für MTB Reifen zwischen 60 und 90 ml und für Rennrad-Reifen 30 bis 45 ml. Dichtmilch von Milkit bekommst du bei uns im Shop. Nachdem du die entsprechende Menge an Dichtmilch eingefüllt hast, kannst du das Ventil wieder zudrehen.

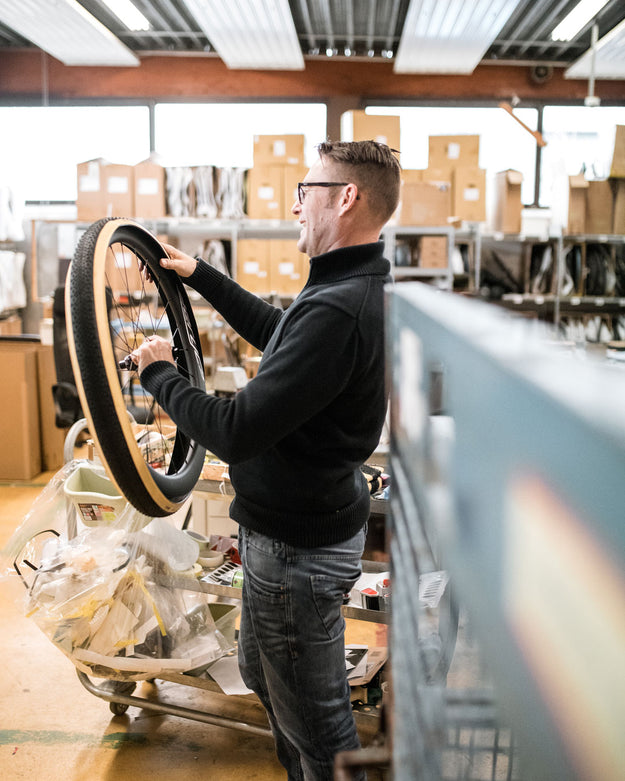
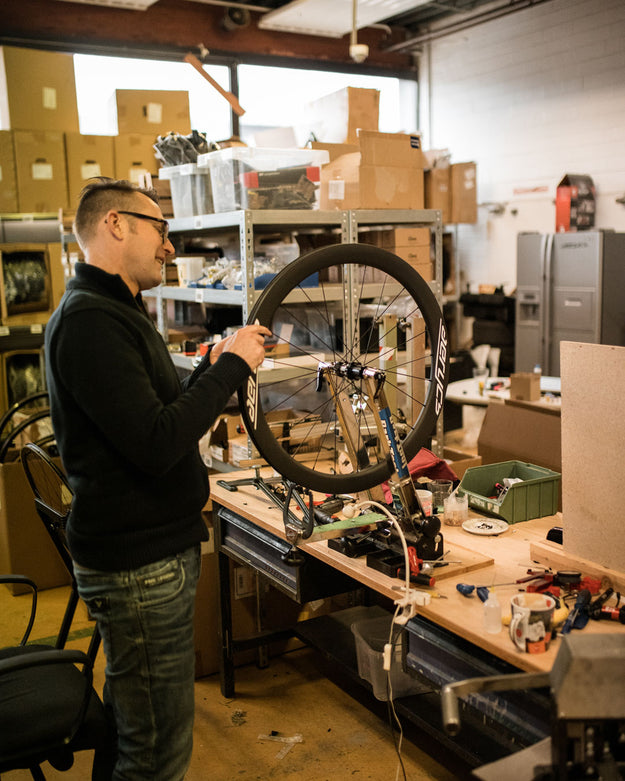
Im letzten Schritt pumpst du deine Laufräder nochmals auf. Damit sich die Milch insbesondere nach der Montage und dem Einfüllen gut verteilt, empfiehlt es sich, das Laufrad zu drehen und ein wenig zu schütteln. Und am besten gleich Radfahren zu gehen!